Before you spend money on a brand new router, it is worth running through a proper troubleshooting checklist. Many of the problems people blame on an old router are actually fixable issues that have nothing to do with the device’s age. Here is a structured way to figure out whether your router truly needs to be replaced or just needs some attention.
Step 1: Restart Everything Properly
Start with the basics. Unplug both your modem and router, wait a full 30 seconds, plug the modem back in first, wait for it to fully reconnect, and then plug the router back in. This simple step resolves a surprising number of issues that might otherwise seem like signs of hardware failure.
Step 2: Check for Firmware Updates
An aging router running outdated firmware can perform noticeably worse than the same device running current firmware. Log into your router’s admin settings and check whether an update is available. Installing it can sometimes feel like getting a new router without spending a dime.
Step 3: Test Speed Directly Next to the Router
Run an internet speed test on a device placed right next to the router, connected via Ethernet cable if possible. This removes Wi-Fi distance and interference as variables, letting you know whether the issue is really about the router’s core performance or more about signal coverage throughout your home.
Step 4: Evaluate Signal Strength in Different Rooms
Walk through your home with your phone and check Wi-Fi signal strength in each room. If the signal is strong near the router but weak in other areas, this points toward a placement or coverage issue rather than the router itself failing, which might be solved with repositioning or a Wi-Fi extender rather than a full replacement.
Step 5: Count Your Connected Devices
Check how many devices are currently connected through your router’s admin panel or companion app. If that number has grown significantly since you first set up the router, perhaps due to new smart home devices, streaming boxes, or additional household members, your aging router may simply be outmatched by current demand rather than failing outright.
Step 6: Clean and Reposition
Dust buildup and poor placement are two of the most common, and most overlooked, causes of declining router performance. Clean the vents, move the router to a more central, open location, and retest your speed and signal strength afterward.
Step 7: Check Cabling and Connections
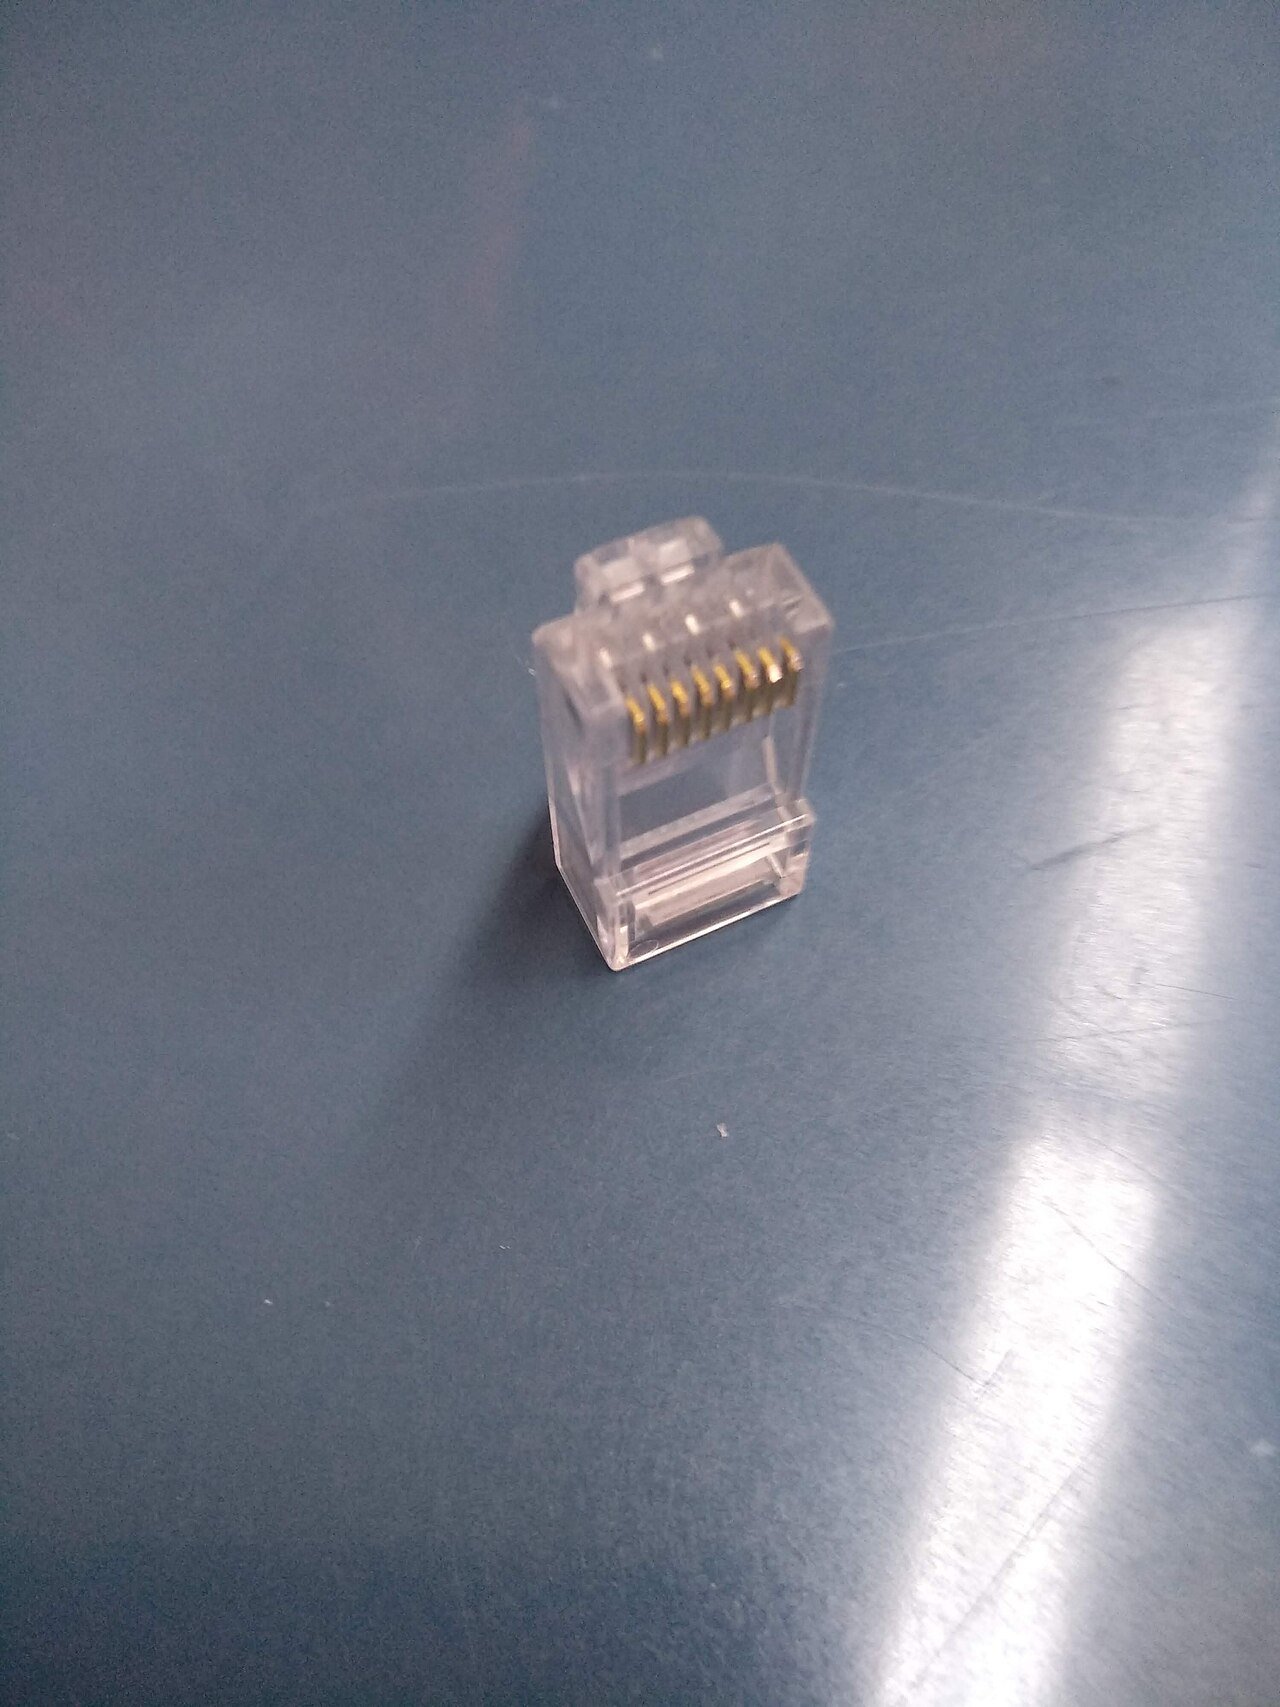
Inspect the Ethernet cable connecting your modem and router for any visible damage, and try reseating the connections on both ends. A loose or damaged cable can mimic many of the symptoms people associate with router failure.
Step 8: Isolate the Problem
If possible, try connecting a single device directly to your modem via Ethernet, bypassing the router entirely, to see if the problem persists. If the issue disappears, it points more clearly toward the router as the source. If the issue remains, it may actually be related to your internet service rather than your equipment at all.
When These Steps Do Not Help
If you have worked through this entire checklist and your router still shows consistent performance problems, frequent disconnects, or an inability to keep up with your household’s needs, that is a reasonable point to conclude the device has genuinely reached the end of its useful life rather than suffering from a fixable issue.
Why This Process Is Worth the Time
Spending twenty or thirty minutes on structured troubleshooting can save you the cost of an unnecessary replacement, or it can give you confidence that replacing your router truly is the right next step, rather than a guess based on frustration alone.