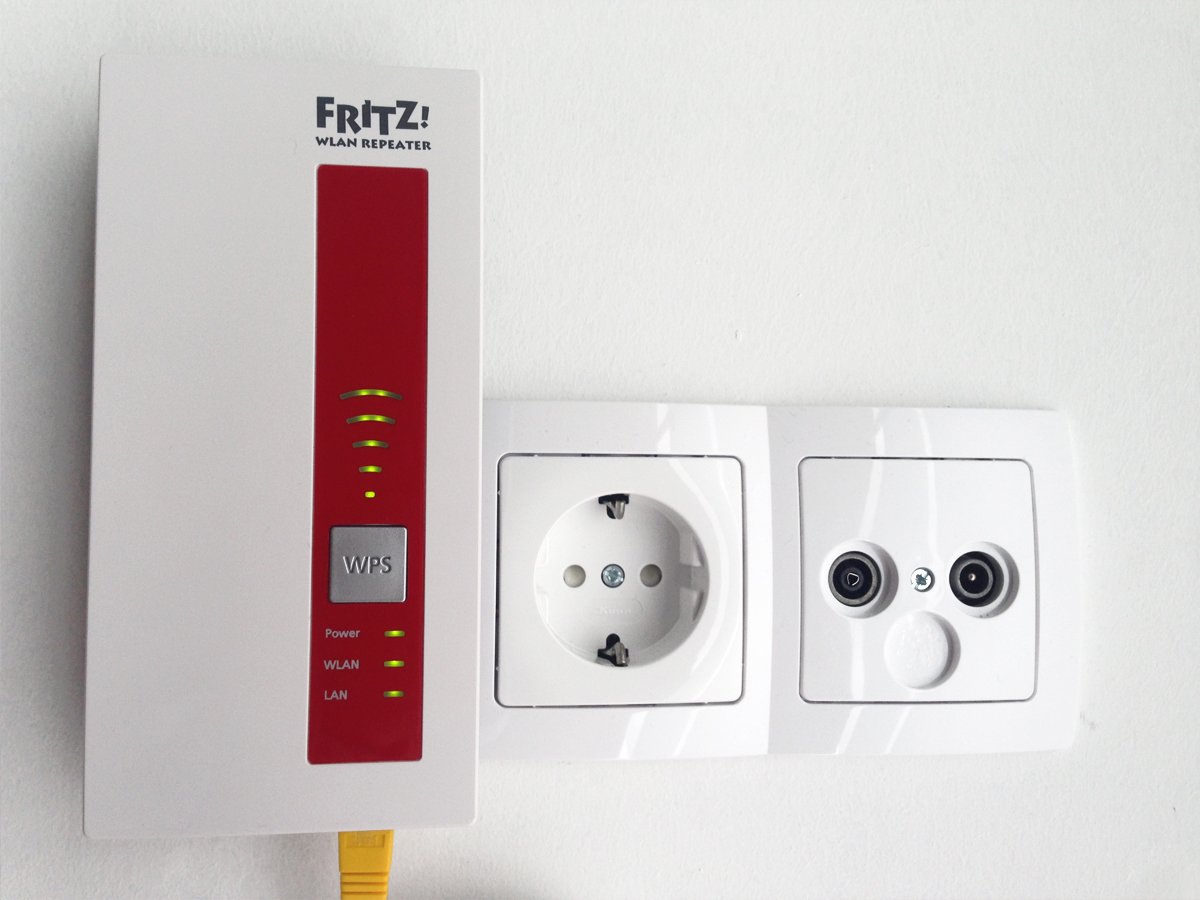
A Wi-Fi extender can be a budget-friendly way to improve coverage in parts of your home where the signal from your main router struggles to reach. However, many people set them up incorrectly, which leads to disappointing results. This guide covers how to set up an extender properly to get the most benefit from it.
What a Wi-Fi Extender Does
A Wi-Fi extender picks up your existing router’s signal and rebroadcasts it, extending coverage into areas the router alone cannot reach well. Unlike a mesh system, most basic extenders create a separate network name, meaning your devices do not automatically switch between the router and the extender as you move around.
Step 1: Choose the Right Location
The most common mistake people make is placing the extender too far from the router, in the exact dead zone they are trying to fix. Instead, place the extender roughly halfway between the router and the dead zone, somewhere that still receives a decent signal from the router itself. A spot with at least two or three signal bars from the original router is generally a good starting point.
Step 2: Plug In and Power On
Plug the extender into a wall outlet in your chosen location. Avoid using power strips or extension cords if possible, as a direct outlet connection tends to provide more stable power. Wait for the device to fully power on, indicated by a steady light, usually within a minute.
Step 3: Connect to the Extender’s Setup Network
Most extenders create a temporary setup network when first powered on. Using your phone or laptop, connect to this network, which is usually named something like the brand name followed by “Setup” or “Extender.”
Step 4: Open the Setup App or Web Page
Follow the manufacturer’s instructions to either open a dedicated app or navigate to a specific web address to begin setup. Many modern extenders use an app-based setup process similar to mesh systems.
Step 5: Select Your Main Network
During setup, you will be asked to select your existing home Wi-Fi network from a list and enter its password. This allows the extender to connect to and rebroadcast your main network’s signal.
Step 6: Name the Extended Network
You can choose to give the extended network the same name as your main network, which can cause some devices to have trouble switching between them, or a different name, such as adding “_EXT” to the end, which gives you more control over which network a device connects to.
Step 7: Finalize Placement
Once setup is complete, test the signal in the previously weak area using a phone or laptop. If the connection is still unreliable, try moving the extender slightly closer to either the router or the dead zone until you find the best balance.
Step 8: Connect Devices Manually
If you gave the extended network a separate name, go into the Wi-Fi settings on each device in that area and manually connect to the extended network for the best signal.
Common Mistakes to Avoid
Besides poor placement, another common issue is expecting an extender to fully double your speed, when in reality it typically reduces available bandwidth somewhat due to how it relays the signal. For very large homes or consistently poor performance, a mesh system is usually a better long-term solution than multiple extenders.
Final Thoughts
A Wi-Fi extender, set up in the right location and configured correctly, can meaningfully improve coverage in a specific problem area of your home. The key to success is finding that sweet spot between the router and the dead zone, rather than placing the extender directly in the weak area itself.